Your cart is currently empty!

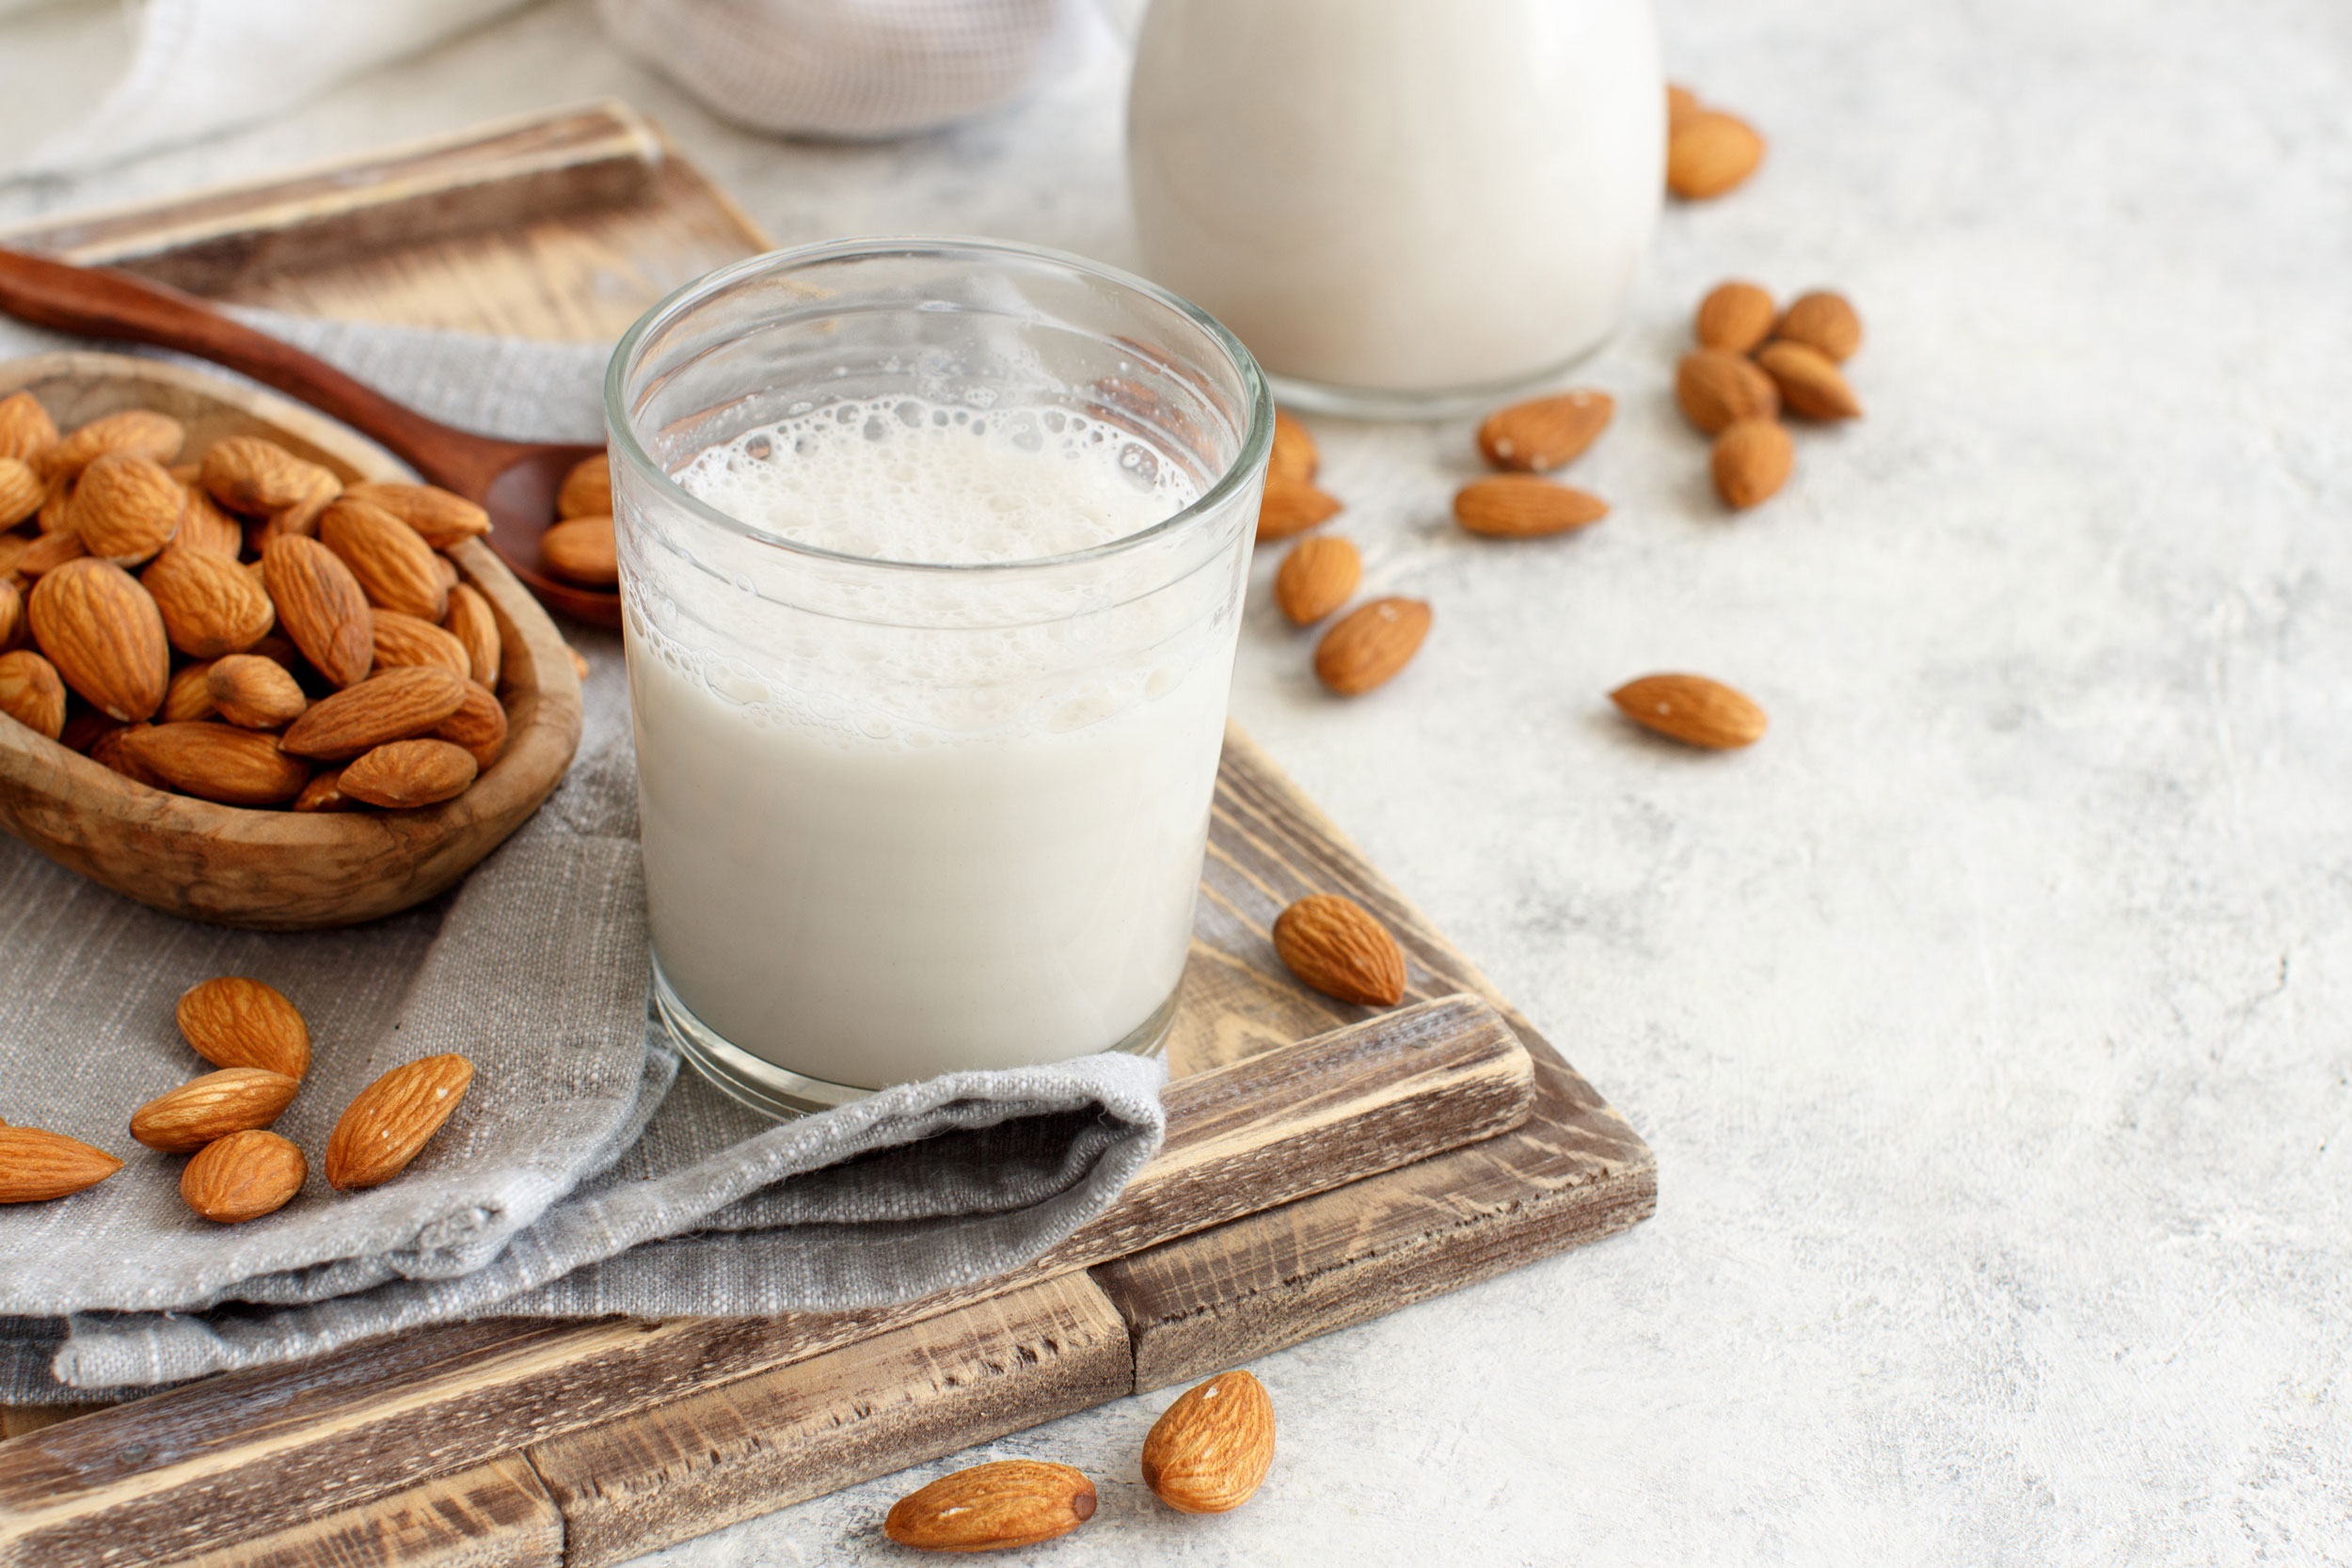
How to Make Homemade Almond Milk
A Simple, Delicious Recipe
If you’ve ever wondered how to make your own almond milk at home, you’re in for a treat! Homemade almond milk is not only incredibly easy to prepare, but it’s also a delicious and healthy alternative to store-bought versions. Plus, you have full control over the ingredients, ensuring a fresh and pure product every time.
In this post, I’ll walk you through a simple recipe for homemade almond milk, along with some tips and optional flavour variations to make it your own.
Why Make Your Own Almond Milk?
Almond milk has become a popular choice for those seeking a dairy-free, plant-based milk alternative. While store-bought almond milk is convenient, making it at home allows you to avoid preservatives and sweeteners often found in commercial brands. The result is a fresh, creamy almond milk that’s full of natural flavour and packed with nutrients.
Ingredients You’ll Need:
- 1 cup of raw almonds: The star of the show, these almonds will be soaked to bring out their creamy texture.
- 4 cups of water: This will be blended with the almonds to create the milk.
- Optional sweeteners and flavourings:
- 1-2 tablespoons of maple syrup, honey, or agave syrup for sweetness.
- 1 teaspoon of vanilla extract for a hint of flavour.
- A pinch of salt to enhance the taste.
- Optional add-ins like cocoa powder or cinnamon for a unique twist.
Step-by-Step Instructions:
1. Soak the Almonds: Begin by soaking your raw almonds in a bowl of water. Let them soak overnight or for at least 8-12 hours. This step is crucial as it softens the almonds, making them easier to blend and ensuring a creamier milk.
2. Drain and Rinse: Once the almonds have soaked, drain and rinse them under cool water. This helps to remove any residue and makes the almonds ready for blending.
3. Blend: Place the soaked almonds in a high-speed blender along with 4 cups of fresh water. Blend on high for 2-3 minutes until the almonds are finely ground and the mixture looks milky.
4. Strain the Milk: To achieve a smooth and silky almond milk, you’ll need to strain the mixture. Use a nut milk bag or cheesecloth. Pour the blended mixture into the cloth over a bowl, then gather the edges and squeeze out as much liquid as possible. What’s left behind in the cloth is almond pulp, while the bowl contains your fresh almond milk.
5. Add Flavour (Optional): For those who like a little extra flavour, now’s the time to get creative. Pour the almond milk back into the blender and add your sweetener, vanilla, or any other flavourings. Blend until well combined.
6. Store and Enjoy: Transfer your almond milk to a sealed container and refrigerate. It will keep for up to 4-5 days, but be sure to give it a good shake before each use, as it may naturally separate.
Bonus Tip: What to Do with Leftover Almond Pulp
Don’t throw away that leftover almond pulp! It’s full of nutrients and can be used in various ways. You can dry it out in the oven and use it as almond flour for baking or add it to smoothies, oatmeal, or energy balls for an extra boost of fiber and protein.
Final Thoughts
Making your own almond milk at home is not only simple but also incredibly rewarding. The fresh, clean taste is unmatched, and knowing exactly what’s in your almond milk is a great feeling. Whether you enjoy it on its own, in your coffee, or as a base for smoothies and cereals, homemade almond milk is a versatile addition to your kitchen.
So, next time you’re reaching for that carton of almond milk at the store, consider giving this recipe a try instead. You might just find that the homemade version is your new favourite!
I hope you enjoyed this guide to making homemade almond milk. If you try this recipe, I’d love to hear how it turned out for you! Share your experience in the comments below, and don’t forget to subscribe for more delicious recipes and tips.

Leave a Reply